
Cotton prefolds are great for cloth diapering! Not only are they cheap ($1-3 each), but they are super absorbent, 100% natural, easy to care for, and last forever! My favorite places to get prefolds are GMD, Cotton Babies (who has free shipping too!). GMD is a great website to learn about prefolds, covers, etc, and have pictures of their products on all shapes and sizes of babies.
Last year, I scored 4 dozen prefolds (newborn, capri, premium, and toddler) and 3 organic flats (total value of around $120) off craigslist for $50 bucks, thats about $1 a diaper (the larger the prefold, the more expensive, nb-$1, Toddler-$3). Now, I didnt need all of those... but they have come in handy! Several friends in need have borrowed them, as well as I have been able to upcycle some into training undies for my daughter!
I used some simple cheap polyester fleece from Walmart ($5 per yard), some FOE (fold over elastic), and a prefold! Ive had a few people ask me how I did it, so here you go! If you have any questions please feel free to comment!
The trainer I made is a large Trimsies trainer pattern, about an average 4yr old size. I hadnt made any new trainers for DD in a while, so this one is too big for her. Sad for me, but GREAT for you!! That means Im giving it away!!! Instructions below the picture tutorial!
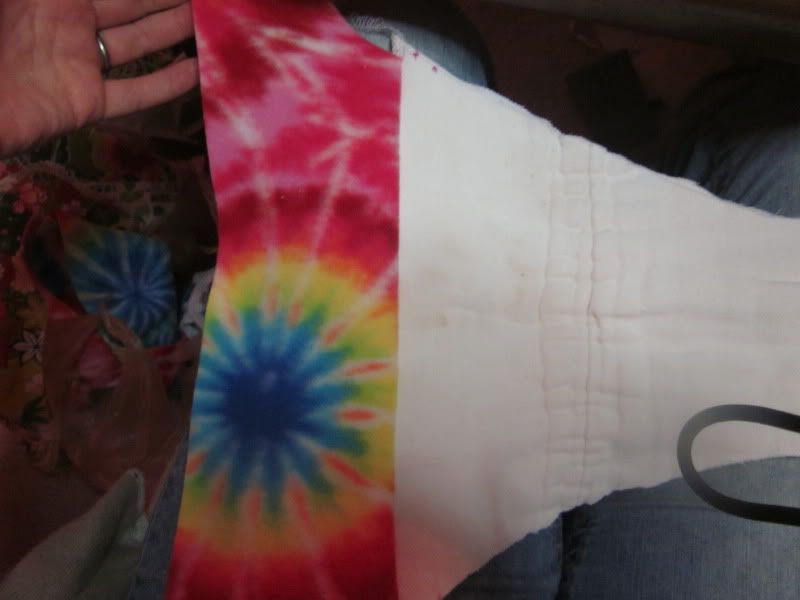
I started by cutting out the fleece in the large Trimsies pattern. Making sure the stretch is going side to side, so that the wings are as stretchy as possible. The second fleece piece, is the top portion of the pattern, cut off at the starting points of the leg elastic, plus 1/4inch added for seam allowance. Since the capri prefolds I have are not long enough to be the same length as the trainer pattern, this extra fleece part will attach to the prefold portion, making it all fit.
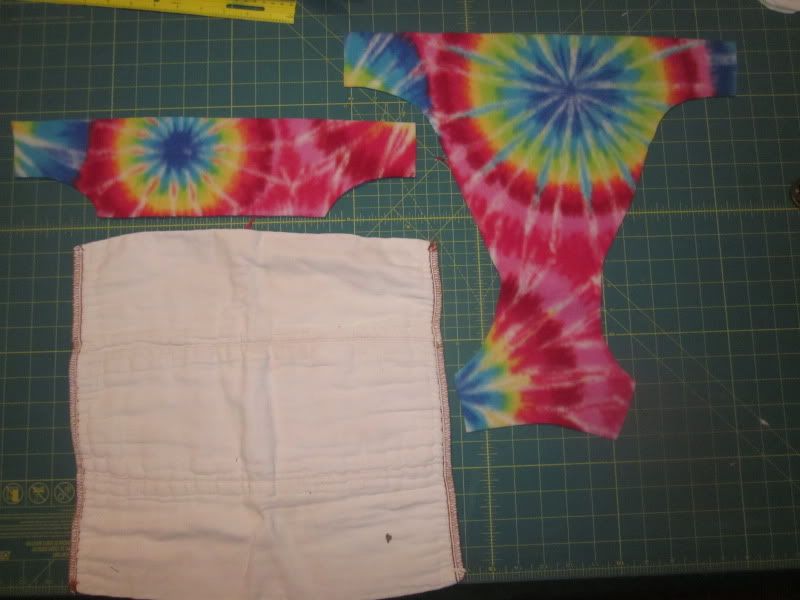
Lay the full pattern fleece piece flat, lay the prefold on top, lining up the front edges (you can have the prefold going longways like this, or turn it sideways, which I find to be easier to sew, but it is a little less absorbent). Lay your extending piece, lining up with the top edge of the outer piece. Now you will mark 1/4 inch before the bottom edge of the extending piece, on the prefold. I find that the skinny Crayola washable markers work well! This will be where you will stitch together the prefold to the extending piece.
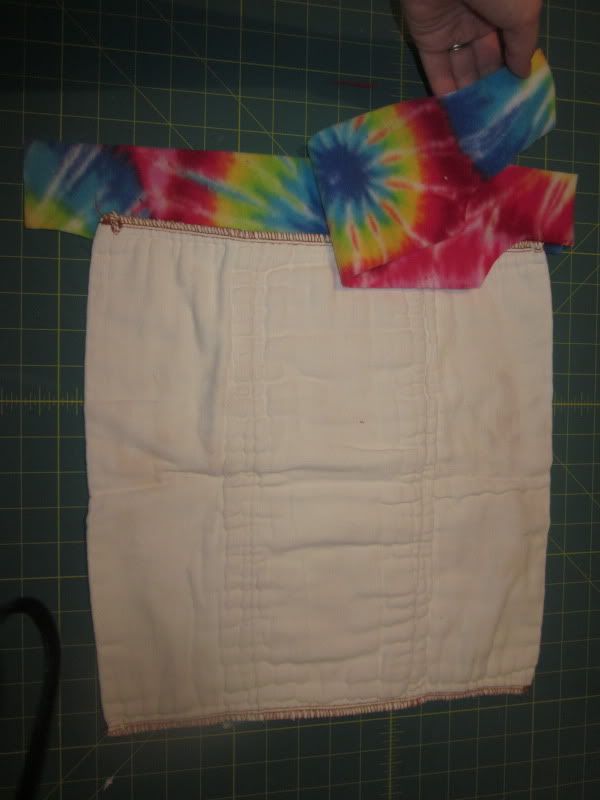
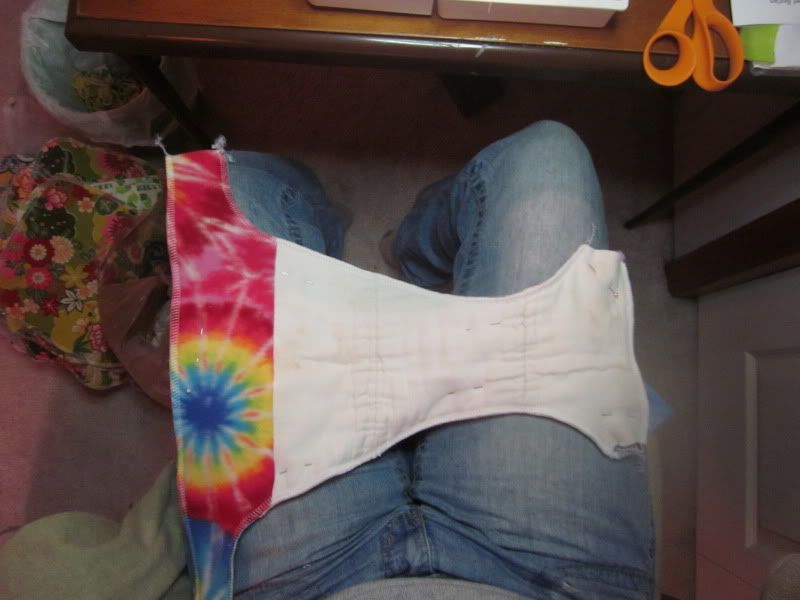
Now with your outer piece on top of the prefold (you can see here, I did this with the prefold sideways), fronts lined up. Cut out the prefold along the edges of the outer piece as your guide. If you dont have a rotary cutter, just trace the outline with a marker, then cut with scissors.
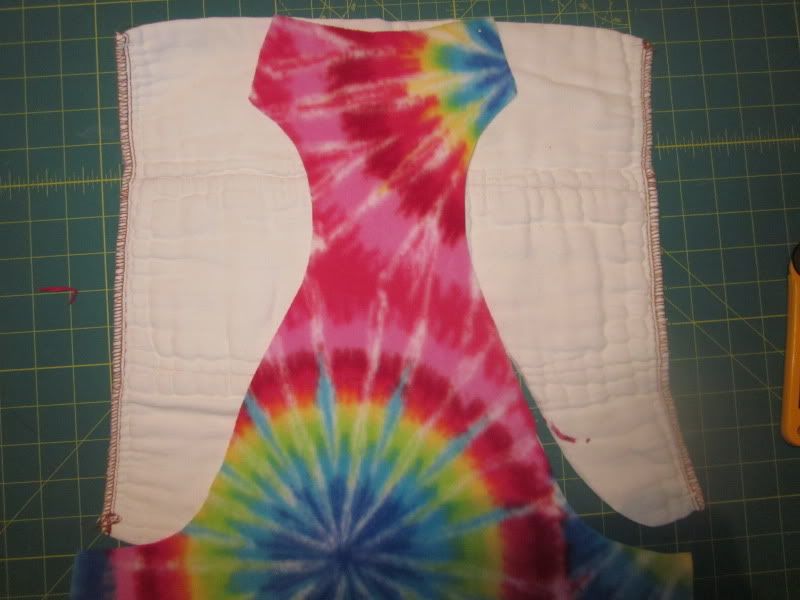
This is what your inner piece should look like, (without the extending piece attached)
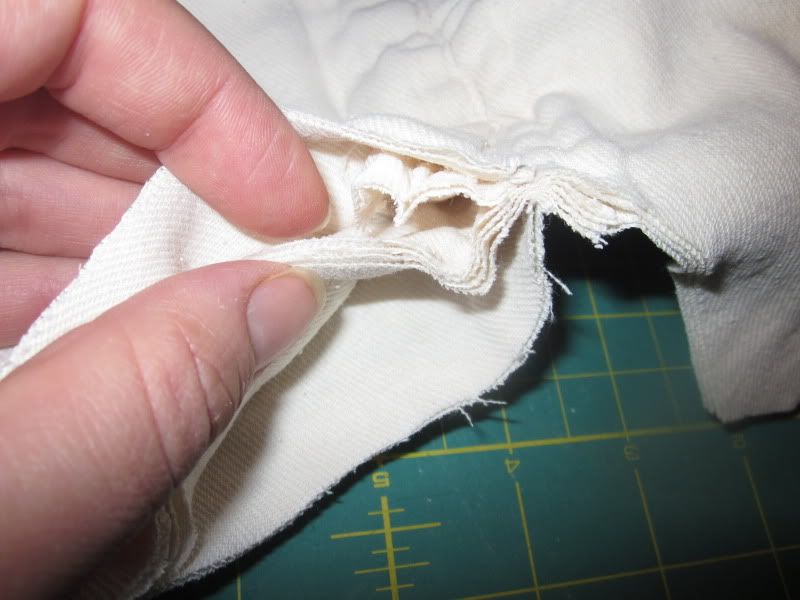
I cut in about 1-1.5inches.
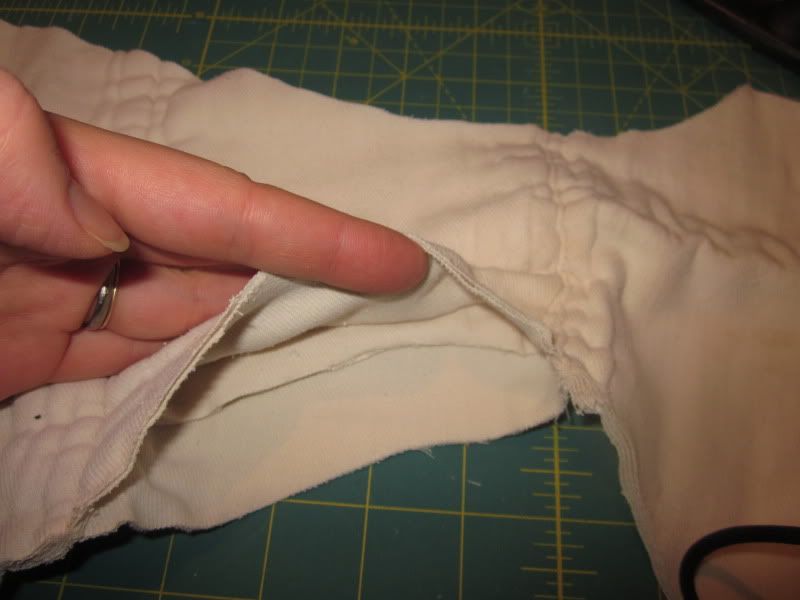
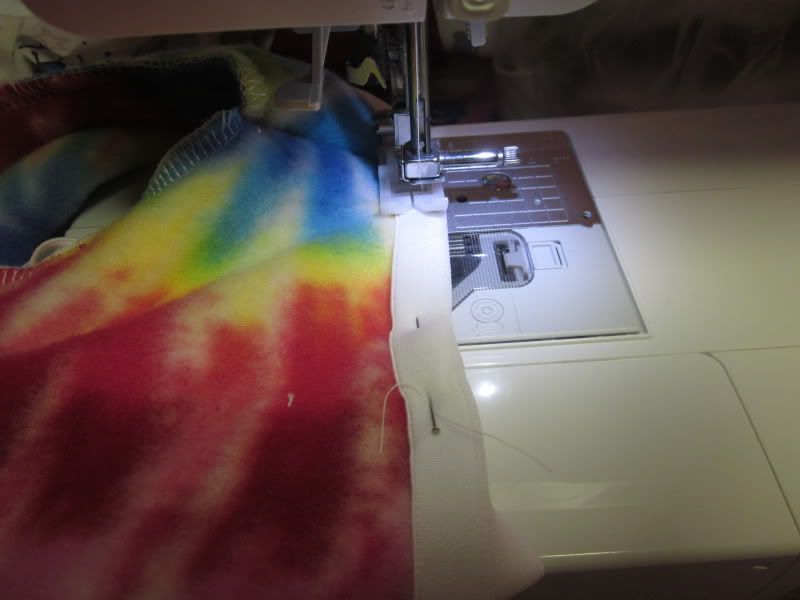
Now to do some sewing. With your inner layer laying down, lay the extending piece right side down, lining up the two edges to be sewn together. Sew or serge with a 1/4 inch inseam:


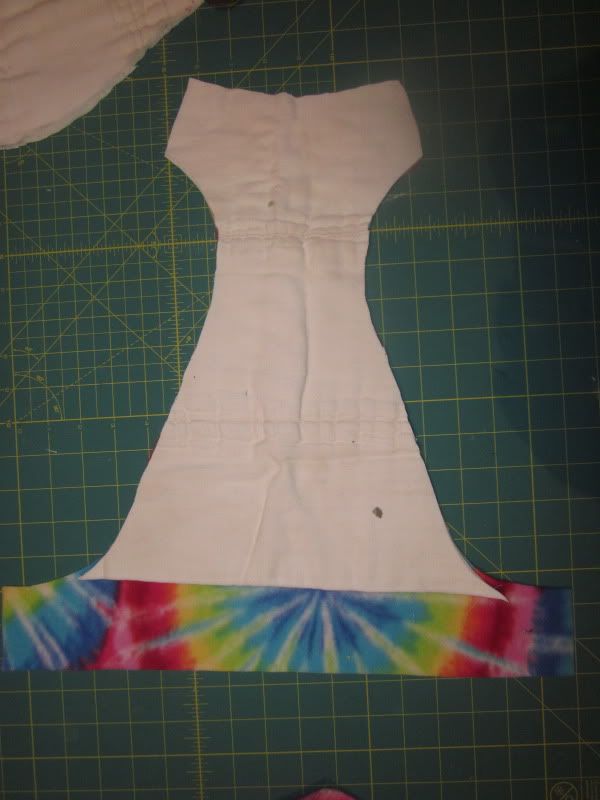
It should look like this when you are done sewing:


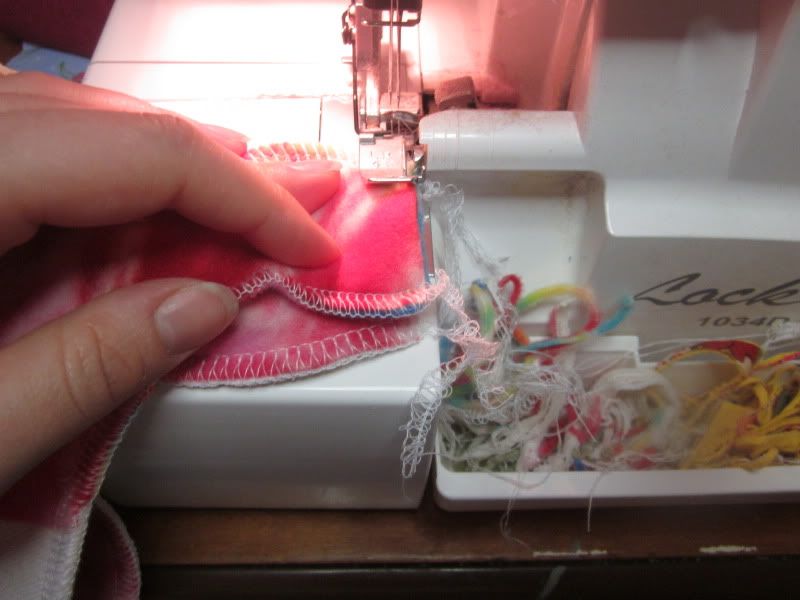
Sew or serge around the edges, this doesnt have to be perfect, as its just to hold the layers together lined up as you sew on the FOE. Sew or serge a little less than 1/4inch if possible. Be very carefull when you get to the seams in the prefold it self (where the middle layers are sewn) those areas are still thick. I usually stop pressing the peddle, and hand turn until I get past those points. If you go too fast over them, you can risk breaking a needle.

Sew/serge around these edges: Front, back, and both sides. If you are doing a snappless trainers, leave the 4 wing ends unsewn. If you are doing a snapping trainer, sew/serge all edges.
For doing a snapless trainer, bring a front wing and back wing together (outer sides of the trainer is in, touching, inner of trainer is out). For doing a snap trainer, see the * after each instruction.
* serge or sew all sides, including the wing ends.
* serge or sew all sides, including the wing ends.

Sew or serger 1/4in. Do this on both sides.
Turn right side out, and it should look something like this. (sorry, I cant get this pic to be right side up!)
*for snapping, the sides will not be sewn together like this, you will skip to the FOE part.
*for snapping, the sides will not be sewn together like this, you will skip to the FOE part.
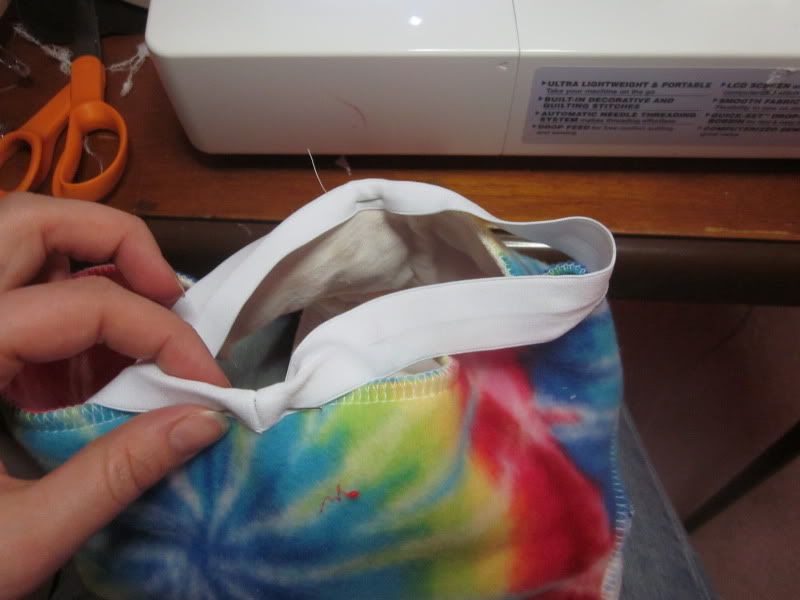
Now you want to get your FOE. After measuring your childs waist, and thighs, cut 3 pieces. 1 the length of the waist, and 2 the length of the thighs. Lets start with the waist. Lay the ends together, right sides together, sew 1/4in inseam.
*for snapping trainer, you will not cut 3 pieces of FOE. Lay your pattern down on your piece, with a marker, mark the elastic placements. This will tell you where to stretch and where not to. Start on a wing, between a corner and elastic starting point. Use a zig zag to tack it down, then use a wide 3step zig zag if possible. Without stretching the FOE, sew unitl you arrive at an elastic point. This is where you will stretch your FOE gently (pulling it a little less than half way to its stretching max), as you sew. Stop stretching once you reach the next elastic point. When you get to corners, be sure to go slowely, and adjust the FOE when needed to allow a nice laying flat corner (most are not perfect!). Repeat on each side, stretchy elastic where indicated. Once you get to where you began, over lap your begining by 1/2 or so, turn to a narrower zig zag stitch, sew back and forth a few times to secure. Remove from machine. Now snuggly stretch the FOE tail up, away from the diaper, then fold it over to one side (preferably the inside). Hold snuggly into place, and zig zag stitch over it to hold it. Trim the tail closely to where you sewn it down.
I will do my best to get another trainer cut out, and do picture instructions for a snapping trainer soon!

Trim the ends to a point like this.

Now find the center back and center front of the trainer, mark with a pin. Fold the FOE in half lengthwise to find the front, mark (back will be the seam). Place the seam on the back center of the trainer, fold over and pin in place. Do the same with the front. This gives you an idea for how much you will need to stretch it as you sew.
Once you get all the way around, it should look like this!

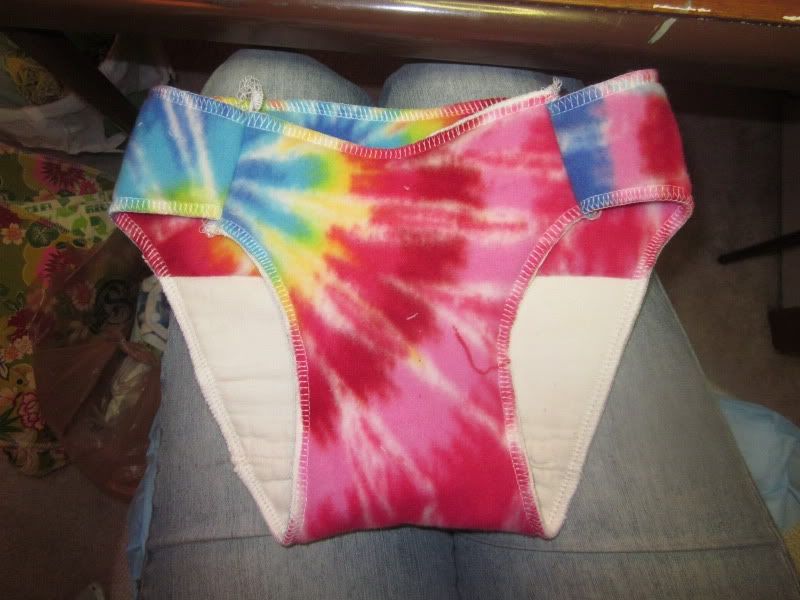
Do the same thing with the leg elastic. When finished it should look like this! Tad da!
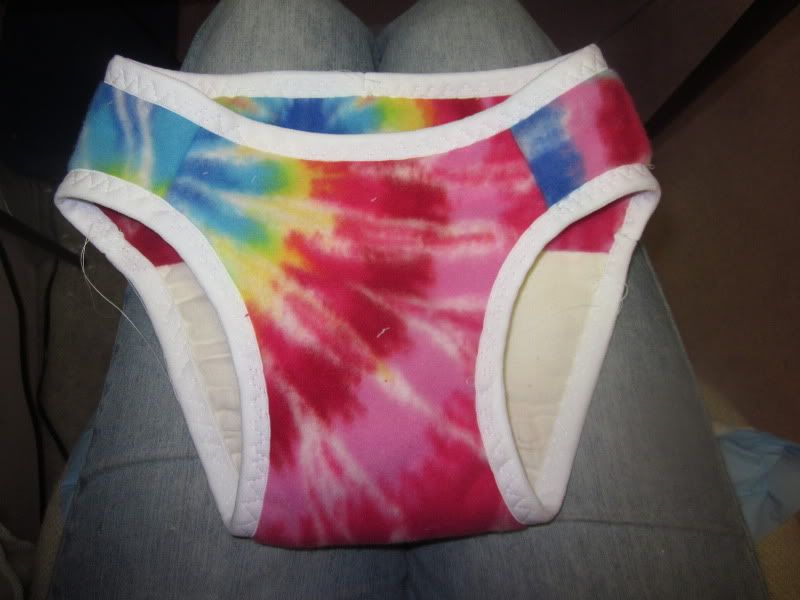

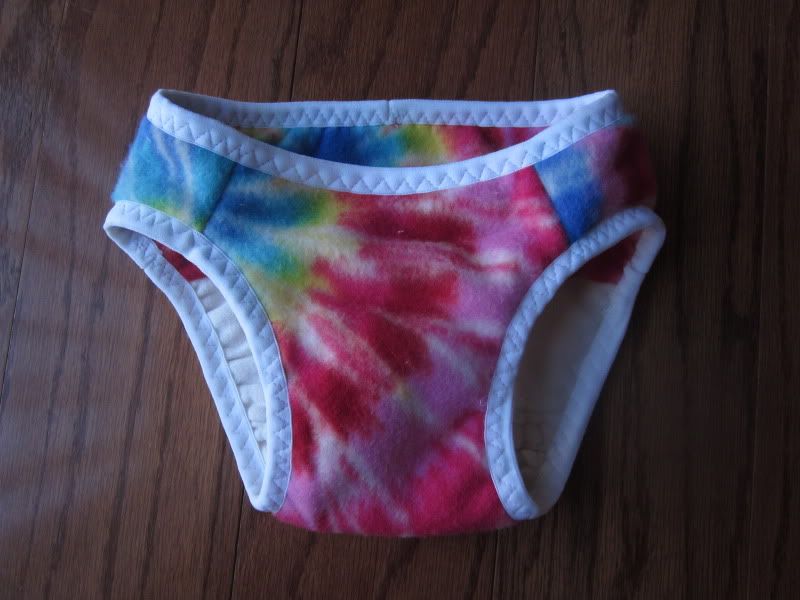

These work great for potty learning toddlers, and bigger toddlers/kids who wake up from naps or bedtime just a few moments too soon. Also great for long car rides, just in case!
Now! For the giveaway! Do the following things, and be entered to win this trainer! It is a size large, which measures 14 1/2 inch thighs (measuring around the thighs where the leg elastic in undies come to), and 19inch waist. Here we go!
a Rafflecopter giveaway
Excellent tutorial! Can't wait to get my machine running to try this!
ReplyDelete