Cotton prefolds are great for cloth diapering! Not only are they cheap ($1-3 each), but they are super absorbent, 100% natural, easy to care for, and last forever! My favorite places to get prefolds are GMD, Cotton Babies (who has free shipping too!). GMD is a great website to learn about prefolds, covers, etc, and have pictures of their products on all shapes and sizes of babies.
Last year, I scored 4 dozen prefolds (newborn, capri, premium, and toddler) and 3 organic flats (total value of around $120) off craigslist for $50 bucks, thats about $1 a diaper (the larger the prefold, the more expensive, nb-$1, Toddler-$3). Now, I didnt need all of those... but they have come in handy! Several friends in need have borrowed them, as well as I have been able to upcycle some into training undies for my daughter!
I used some simple cheap polyester fleece from Walmart ($5 per yard), some FOE (fold over elastic), and a prefold! Ive had a few people ask me how I did it, so here you go! If you have any questions please feel free to comment!
The trainer I made is a large Trimsies trainer pattern, about an average 4yr old size. I hadnt made any new trainers for DD in a while, so this one is too big for her. Sad for me, but GREAT for you!! That means Im giving it away!!! Instructions below the picture tutorial!
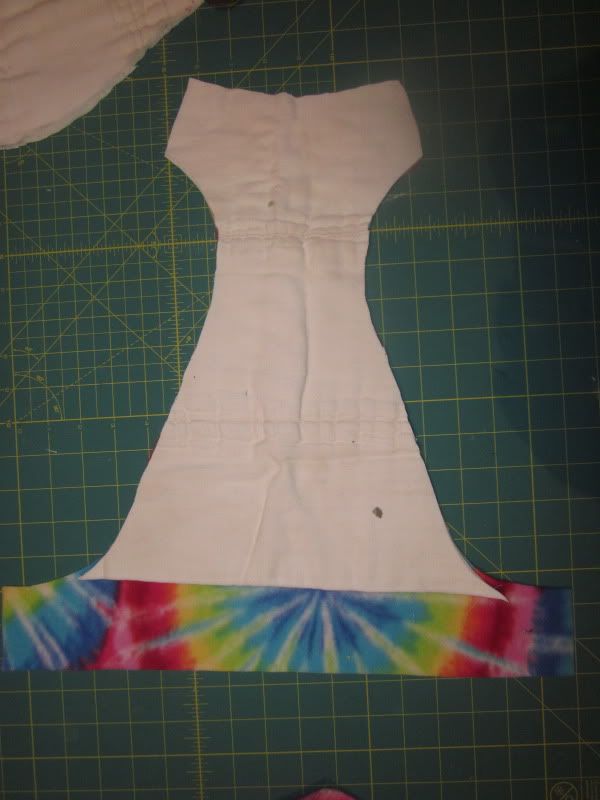
I started by cutting out the fleece in the large Trimsies pattern. Making sure the stretch is going side to side, so that the wings are as stretchy as possible. The second fleece piece, is the top portion of the pattern, cut off at the starting points of the leg elastic, plus 1/4inch added for seam allowance. Since the capri prefolds I have are not long enough to be the same length as the trainer pattern, this extra fleece part will attach to the prefold portion, making it all fit.
Lay the full pattern fleece piece flat, lay the prefold on top, lining up the front edges (you can have the prefold going longways like this, or turn it sideways, which I find to be easier to sew, but it is a little less absorbent). Lay your extending piece, lining up with the top edge of the outer piece. Now you will mark 1/4 inch before the bottom edge of the extending piece, on the prefold. I find that the skinny Crayola washable markers work well! This will be where you will stitch together the prefold to the extending piece.
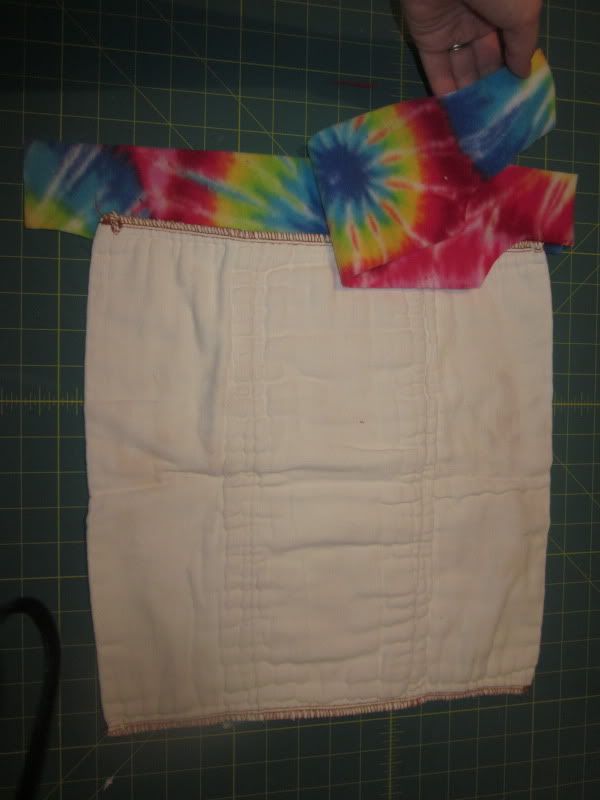
Now with your outer piece on top of the prefold (you can see here, I did this with the prefold sideways), fronts lined up. Cut out the prefold along the edges of the outer piece as your guide. If you dont have a rotary cutter, just trace the outline with a marker, then cut with scissors.
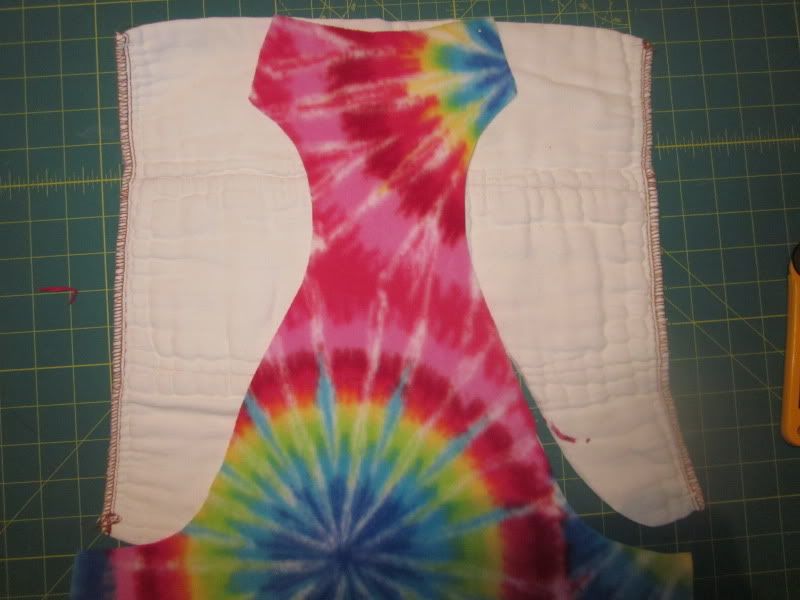
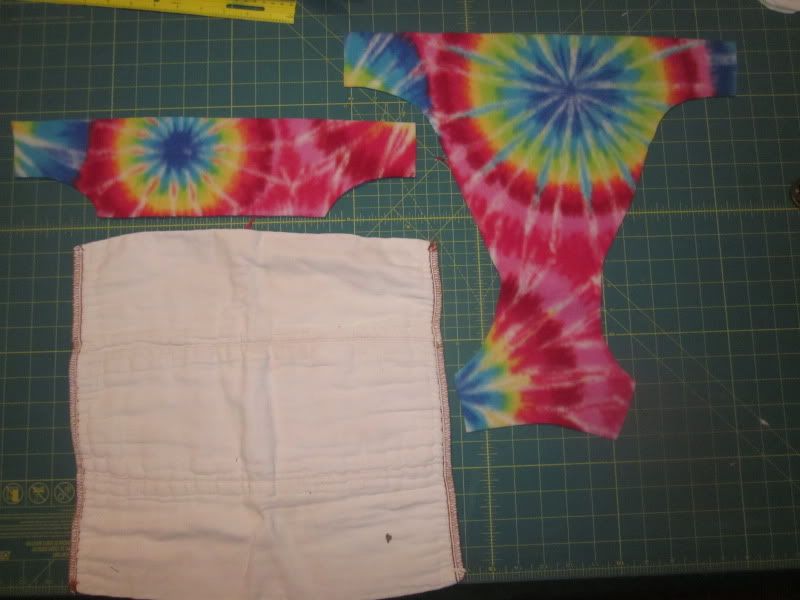
This is what your inner piece should look like, (without the extending piece attached)